
A web hosting control panel is a graphical interface that lets you manage your website's domains, files, databases, email and security without writing a single line of server code. Think of it as the dashboard for your entire online presence: you log in through a browser, click through clearly labelled sections, and changes take effect immediately. Learning to use one is the difference between depending on a developer for every small task and handling things yourself in minutes.
What is a web hosting control panel, and why does it matter?
A hosting control panel is the standard industry term for what many people call a "hosting dashboard." It sits between you and the server, translating your clicks into server-level actions. Without it, managing a website needs command-line access and a working knowledge of Linux administration: a significant barrier for most small business owners. The best-known panel is cPanel, which we run on all our hosting.
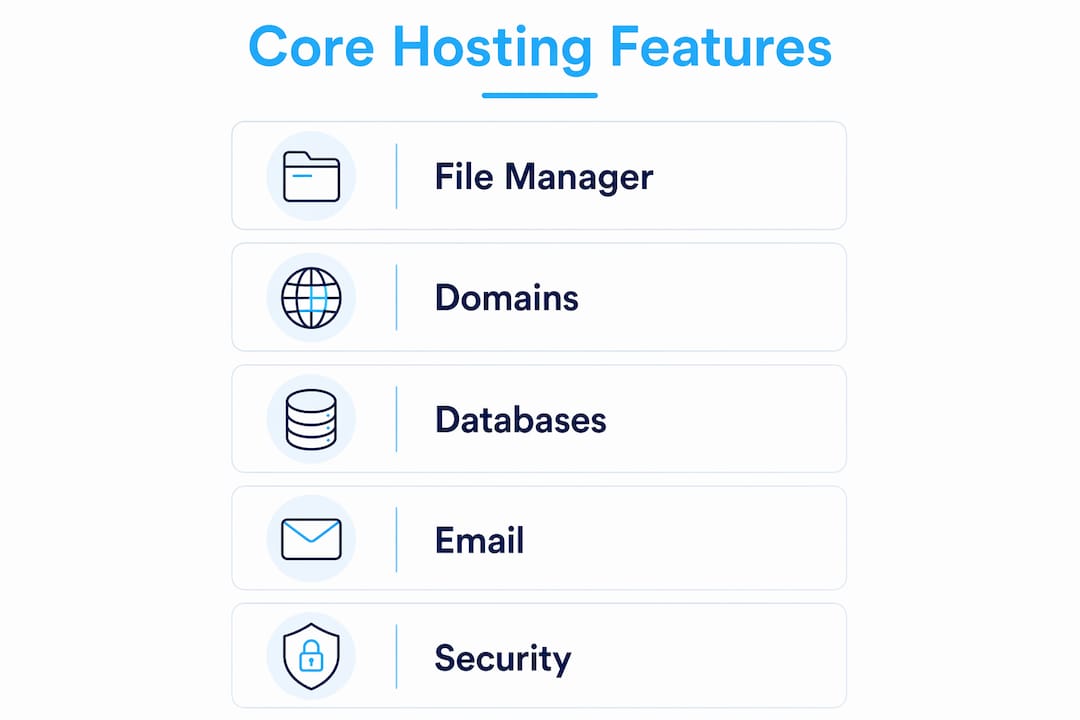
The key management areas are domains, files, databases, email and security. Each maps to a real business need: your domain points customers to your site, your files contain your content, your database stores your CMS data, your email accounts represent your brand, and your security settings protect all of the above.

Most shared hosting accounts come with a panel pre-installed, accessible at a URL such as yourdomain.com:2083, port 2083 is the standard cPanel SSL access port, and knowing it saves time when your host's login link isn't obvious.
What are the main features of a hosting control panel?
Beginners should get familiar with a handful of core sections. Each handles a distinct part of your website's operation.
| Section | Primary function | Practical example |
|---|---|---|
| File Manager | Upload, edit and organise website files | Upload a homepage image to public_html |
| Domains | Add, redirect or manage domain names | Point a new domain to your site |
| Databases | Create and manage MySQL databases | Set up a database for WordPress |
| Create and configure email accounts | Create [email protected] | |
| Security | Manage SSL certificates and access rules | Install a free SSL certificate |
| Software / App Installer | Install web apps in one click | Install WordPress with no manual upload |
| Backups | Create and restore site backups | Download a full backup before an update |
Beyond these, most panels include usage statistics, error logs and cron job schedulers. Usage statistics show bandwidth and visitor counts at a glance; error logs help you diagnose problems without contacting support every time something breaks.
The Software section deserves particular attention. App installers like Softaculous provide one-click installs for WordPress and 400+ other applications, so you can have a fully functioning WordPress site live in under five minutes, with no FTP client or manual database configuration required.
How do you use a hosting control panel, step by step?
These steps cover the most common tasks you'll perform managing your own site.
- Log in to your panel. Your host emails login credentials after you buy hosting. Access the panel via that URL, or the "Control Panel" button in your client area. Most hosts use single sign-on, so one click takes you straight in.
- Upload your website files. Open File Manager and go to
public_html: your website root. Files uploaded here go live immediately. Drag and drop directly into the browser, edit text files in place, and change permissions without an FTP client. - Create a database for your CMS. In Databases, create a new MySQL database, add a user, set a strong password and grant full privileges. Note all three values: you'll need them when installing WordPress or any database-driven CMS.
- Install WordPress automatically. Open the Software / App Installer, select WordPress, enter your site URL, admin username and email. The installer creates the database, uploads the files and configures everything in under two minutes.
- Set up professional email. In Email > Email Accounts, enter the address (e.g.
[email protected]), set a password and mailbox size. Access it via webmail or set it up in Outlook or Apple Mail with the IMAP settings your host provides. - Enable SSL. In Security, find SSL/TLS or Let's Encrypt. Modern panels automate SSL issuance and renewal, so you select your domain and click install: the certificate activates within seconds and renews automatically.
Pro tip
Always back up your site before significant changes. Use the Backups section to download a full backup to your computer. Restoring takes minutes; rebuilding a broken site from scratch can take days.
Common mistakes, and how to fix them
Most beginner problems fall into a few categories. Recognising them early saves hours of frustration.
- Confusing the client area with the control panel. The client area handles billing and support; the control panel manages your actual website. If you can't find File Manager or Email Accounts, you're probably in the wrong place.
- 500 Internal Server Error after editing files. Almost always a file-permission problem or a syntax error in a config file like
.htaccess. Check Error Logs first: the entry names the exact file at fault. - Email not delivering. Check your domain's MX records point to your hosting server, in the Domains or DNS Zone Editor. Incorrect MX records are the most common cause of email failure for new sites.
- Forgetting to renew SSL. Automated Let's Encrypt renewal removes this risk on most modern panels. If yours doesn't automate, set a reminder 30 days before expiry.
Store your panel login credentials in a password manager, not a sticky note or browser autofill. If your device is lost or compromised, an unsecured password gives an attacker full control of your website, email and data.
Pro tip
Turn on your panel's two-factor authentication (2FA) if available. It adds a second verification step at login and significantly reduces the risk of unauthorised access.
How to choose and get the most from your panel
Choosing a panel isn't just about the most recognised name, usability should guide you over popularity. A modern interface with clear labels and good search saves time every week. For a small business managing a single site, shared hosting with a bundled panel is the most practical starting point; panels on a VPS are optional.
Multi-user access is worth understanding early. Role-based permissions let you give a developer access to File Manager and Databases without exposing your billing or security settings. To get the most from your panel day to day: check usage statistics monthly for unexpected bandwidth spikes, use the built-in search bar to find tools fast, schedule automated backups, and review your SSL status quarterly even when renewal is automated.
Key takeaways
| Point | Details |
|---|---|
| Core sections to learn first | File Manager, Domains, Databases, Email and Security cover the vast majority of daily tasks. |
| App installers save time | Tools like Softaculous install WordPress and 400+ apps in under two minutes with no manual setup. |
| Client area vs control panel | Separate systems, use your host's single sign-on button to reach the correct panel. |
| Automate SSL and backups | Let's Encrypt handles certificate renewal automatically; schedule backups before making changes. |
| Role-based access matters | Assign sub-user accounts with defined privileges to share management safely. |
Why most people overcomplicate this
Most small business owners assume they need a developer to manage their hosting. That assumption costs money every month and creates an avoidable dependency: the control panel exists precisely to remove that barrier. The sections that matter most (File Manager, Email, Databases) are genuinely straightforward once you spend 20 minutes clicking through them. The labels are plain English and most actions are reversible, especially with a backup in place.
The biggest misconception is that command-line skills are required for "proper" hosting management. They're not. Experienced admins use the command line because it's faster for them, not because the panel is inadequate. Security is the one area where I'd urge genuine attention: a compromised hosting account hits your website, email, customer data and reputation at once. Two-factor authentication and a strong, unique password aren't optional extras: they're the minimum standard.
You don't need to be technical to run your own website. You need a good control panel and 20 minutes to get comfortable with it.
Hosting built for straightforward management
Our UK web hosting includes an easy cPanel control panel as standard, manage files, email, databases and SSL from day one, with free migration and real UK-based support.
See hosting plansFrequently asked questions
What is a web hosting control panel?
A web hosting control panel is a browser-based graphical interface that lets you manage your website's files, domains, databases, email accounts and security settings without using the command line.
How do I access my hosting control panel?
Most hosts provide a direct login URL, typically at yourdomain.com:2083 for cPanel, or via a single sign-on button inside your client area. Your host sends login credentials by email when you set up your account.
What is the difference between a client area and a control panel?
The client area handles billing, support tickets and domain renewals. The hosting control panel manages your actual website files, email and databases. Most hosts connect the two via single sign-on to reduce confusion.
Do I need a control panel for VPS hosting?
A control panel is optional on VPS and dedicated servers. Experienced administrators often prefer the command line, but for small business owners a panel significantly reduces configuration errors and speeds up routine tasks.
How do I install WordPress using a hosting control panel?
Open the Software or App Installer section, select WordPress, enter your site URL and admin details, and click install. The process takes under two minutes and requires no manual file uploads or database configuration.